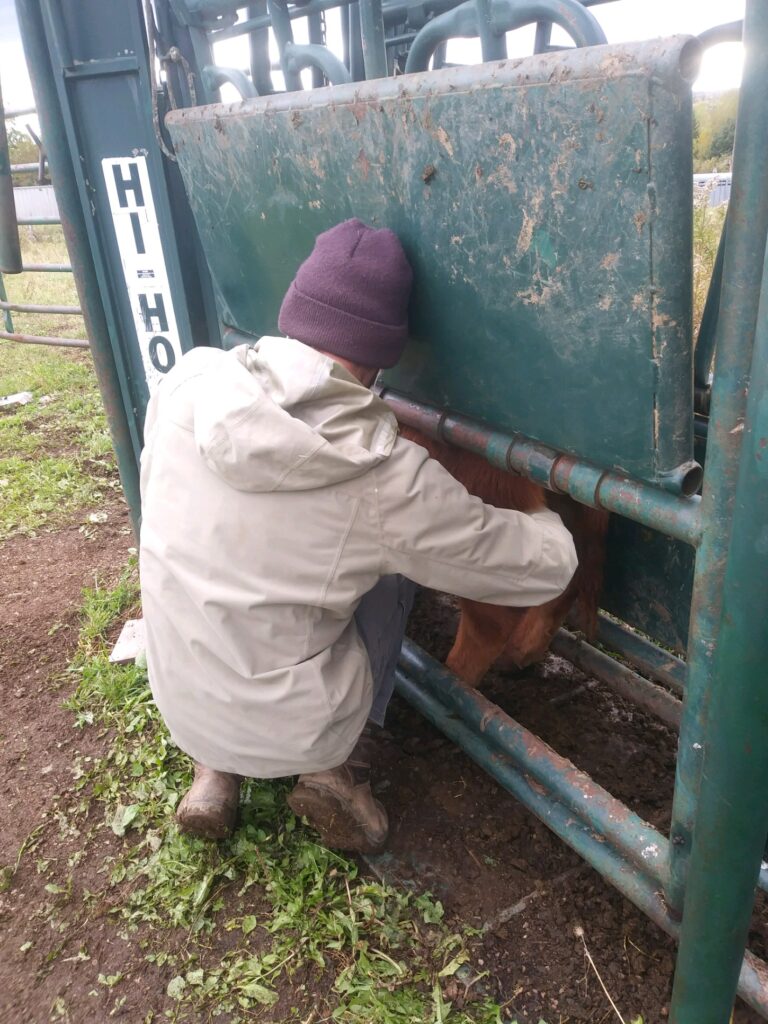
Humane, quick, bloodless, drug-free and EFFECTIVE.
These are all adjectives that should come to mind when discussing castration for your beef bulls. As beef cattle producers, castrating your bulls is just another part of the cattle raising process. Unless you are selling your bull calves intact or retaining them, you will need to castrate. Having the right tools for the job is critical and selecting the right castration method should be given careful thought and consideration.
Before determining the right castration tools, you first need to decide which castration method works best for your operation. Generally speaking, you have three options when it comes to castration: pinching, banding or cutting. We have found that banding is definitely the best choice for us and our operation. As such, I will be focusing on banders in this post. If you are like us, you likely have a few banders on your shelf. As we quickly learned over time, banders are not a one-size-fits-all tool. Banding a 70lb newborn bull calf is a very different process from banding a 800+lb yearling bull. Very Different!
That being said, let me ask the question:
“At what age/size will you be banding your bull(s)?”
Newborn bull calf?
500 lb weanling?
800+ lb yearling bull?
All banders have the same concept. Essentially, you have a large rubber band, placed over the scrotum, effectively stopping blood flow to the region. Ultimately, the scrotum will drop-off as result of the blood flow being cut-off.
We have used three different types of castrating banders on the farm:
4-Pin Castrator Bander Forceps Pliers for Newborn Calves
XL Castrating Bander (plier type) (for bulls 250-750lbs)
Callicrate SMART Bander (for bulls 300 – 3,00lbs)
Below is our experiences with – and insight into – using these three different castration banders.
Castrating at the Newborn Calf Stage
At the newborn calf stage, we use a very simple (but effective) set-up of a castrator bander forceps pliers, with castrator rubber bands. These pliers are basic and nothing fancy but cost-effective, and really, that is all that you need for castration at this age. To use, you simply place a castrator rubber band over the 4-pins and expand the band. The band will enlarge to a rectangular shape, which you then fit over the scrotum. Be sure that you have located both testicles (sometimes they can be hard to find/high up at birth). When you have confirmed you have both testicles, then simply place the band over the entire scrotum and release, making sure the band is on! In the early years, we did have some failed bandings, which we did not discover until later on. That’s why I mention making sure you literally have a handle on both testicles before banding! Read below for some insight into newborn calf banding and processing.
When starting our beef cattle operation, we immediately castrated every bull calf shortly after birth, right in the field. We used a simple 4-pin castration forceps pliers bander, and we had a great success with that method. As we honed our skills and confidence, the banding process went quicker with each calf. Of course, being able to actually band a newborn calf, requires one to catch the newborn calf first.
(Our mama cows calve out in the pasture and as such, we carefully plan our breeding season to allow for calving (May-June) to take place without cold, snowy weather conditions! Therefore, we physically have to catch each calf out in the wide-open pasture).
A calf born in the morning, would already be difficult to catch by day’s end. Those calves become quick, very quickly, and their mothers are a bit suspicious of us when we casually approach with the calving bucket! In fact, we have one veteran cow that would immediately collect her calf and be trotting half-way across the pasture, before we even got the gate closed. We were never able to work her calves until much later on, in the cattle facility. Such actions, along with other observations we made, fueled the fire, so-to-speak, on a new way of approaching calf processing on the farm.
Therefore, one calving season a few years back, we decided to not work our calves at birth. This meant no tags, no castration, no handling of any sort during the newborn calf stage. We had a few different reasons for delaying our typical calf processing but one was based on our desire to create a more “hands-off, less-stress” environment for our newborn calves and their mothers. Allowing a bond to form between new calf and mama – without interruptions by us – was a priority.
That bond – between baby and mom – sets the tone for how successful of a start that calf will have. For us, that “start” is every. single nursing session the first 24 hours. The second a calf is born, the clock starts ticking on how long until the calf’s gut closes completely.
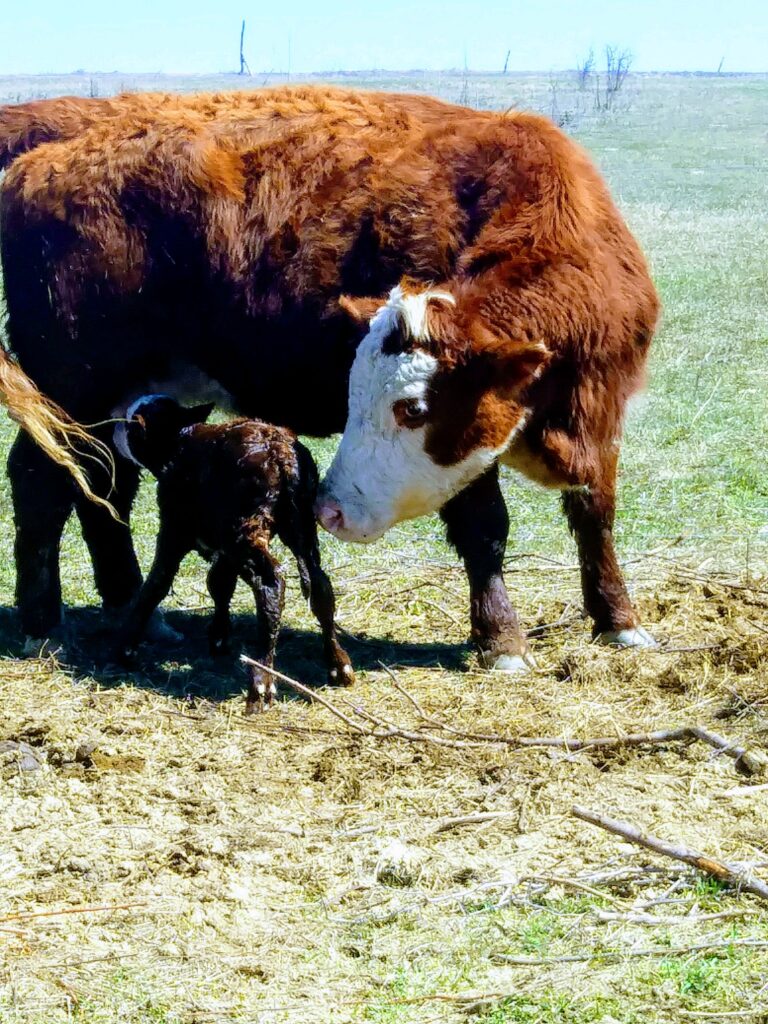
These first, critical nursing sessions provide the calf with COLOSTRUM, which is rich in absorbing antibodies and proteins. These antibodies and proteins enter the calf’s bloodstream and are adsorbed by the intestinal lining, giving the calf it’s best chance at building a strong, immune system for fighting infection and disease.
This change in procedure, in delaying calf processing and castration, was a major shift for us. We had to change our mindset from our want (but not needed) of immediately working a calf and collecting data, to instead, allowing nature to really, truly take the lead.
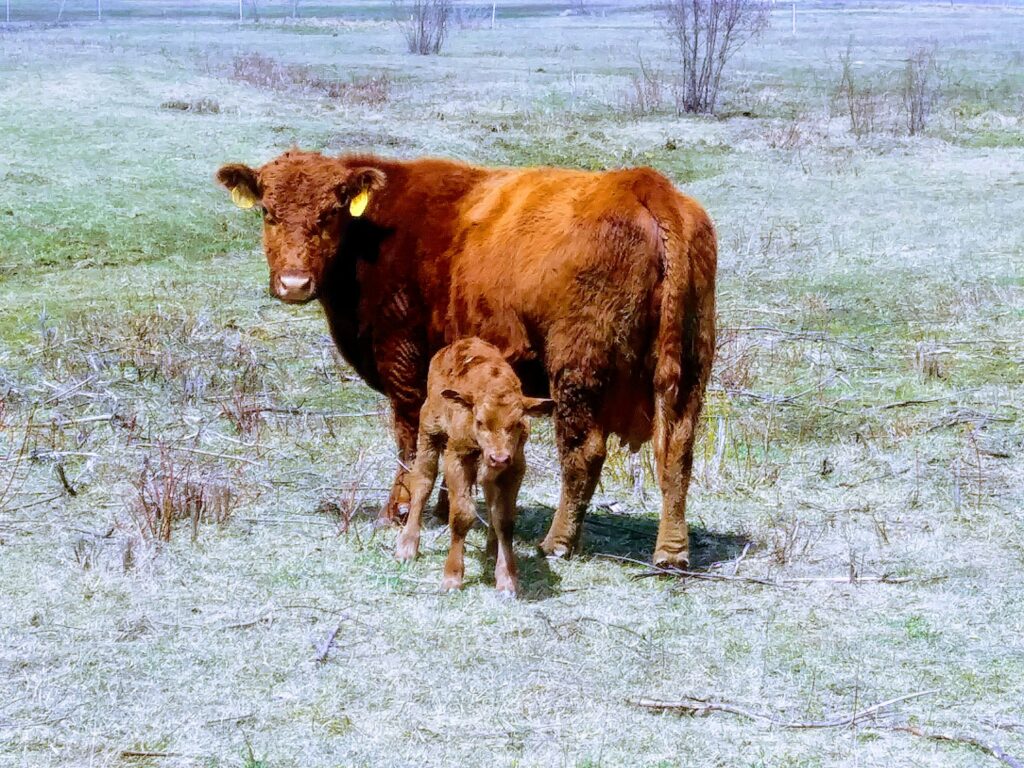
Letting the calf and mama be the only players in this production and us, the observant audience for the time being (unless assistance is needed, of course).
Delaying calf processing meant that we had to wait until later to update our calf records. This was very different from previous years, where we would know right away if Cow A’s calf was a heifer or a bull, how much it weighed, and other pertinent information. Also, this meant that we would not be able to look at a random calf and know which cow was their mother, based simply on the ear tag. No ear tags equaled 19 babies looking pretty similar while running around the fields, save the 3 with white faces!
This also meant that we did not know immediately how many heifers and how many bulls we had. We had to observe nursing sessions, get a good look “underneath” and then make a note of “heifer or bull” for each mother on our cattle profiles on CattleMax. Ironically, many of our cow-calf pairs were a bit nursing-shy whenever we did our checks, so we still had a good number of unknowns. Due to other farm duties, along with non-farm work and jobs, and child, life, sleep, and our own cooking/eating obligations, we could not camp out in the cow pastures 24/7. ha!
So, we waited and around 5 months after the calving season ended, we brought the herd down to the cattle facility and started our calf processing. Every calf got a nice, new ear tag, and we noted heifer or bull. Over the next few weeks, we were able to match-up the last of the cow-calf pairs and update our records. Furthermore, we were also able to band our bull calves, using the XL Castration Bander (see below for more information).
Our first attempt at delaying calf processing and castration was a success, and over time this became standard operating procedure here on the farm. That being said, this method and approach worked for us but that does not mean it will work for every operation. There is no one-method/procedure-fits-all when you run a cattle farm. Each farm/operation is unique in their operations, methods, goals, and so forth. So many factors to consider. Ultimately, do what works for you. This is what works for us, right now.
XL Castration Bander (plier type castrator)
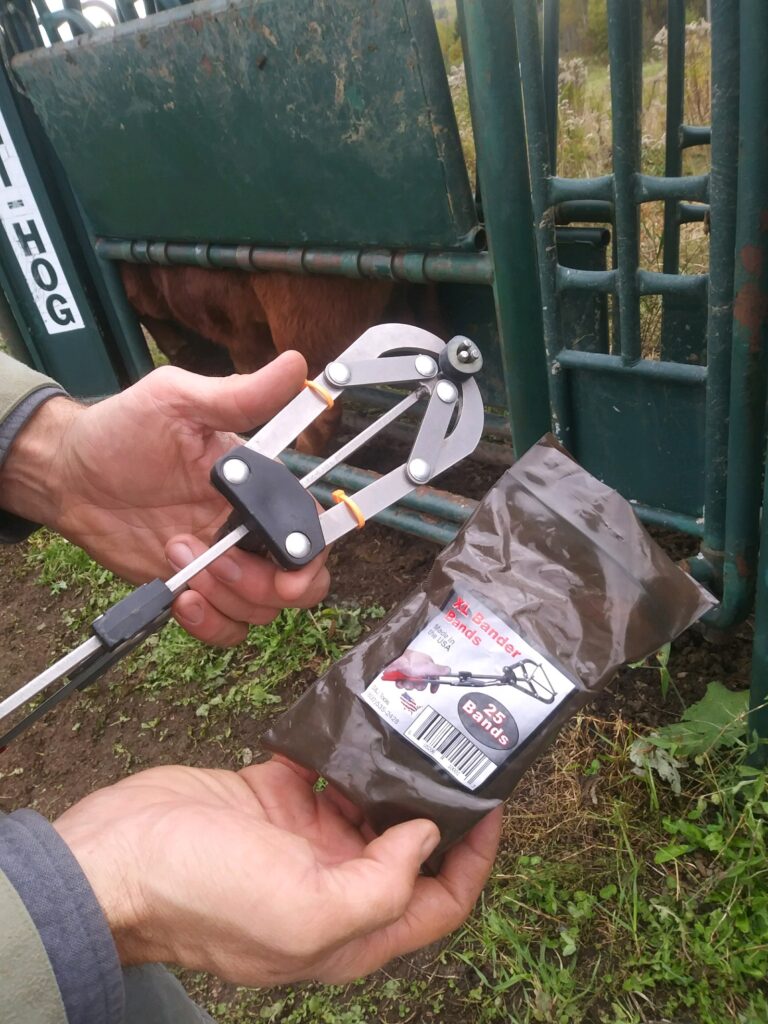
The XL castration bander is another plier type castrator and also, very user-friendly. This bander is intended for bulls approx. 250-750lbs. The cost is very reasonable, especially considering the range in weights it can be used for.
We have been using this to castrate our bull calves a few months after birth, when they average around 500lbs.
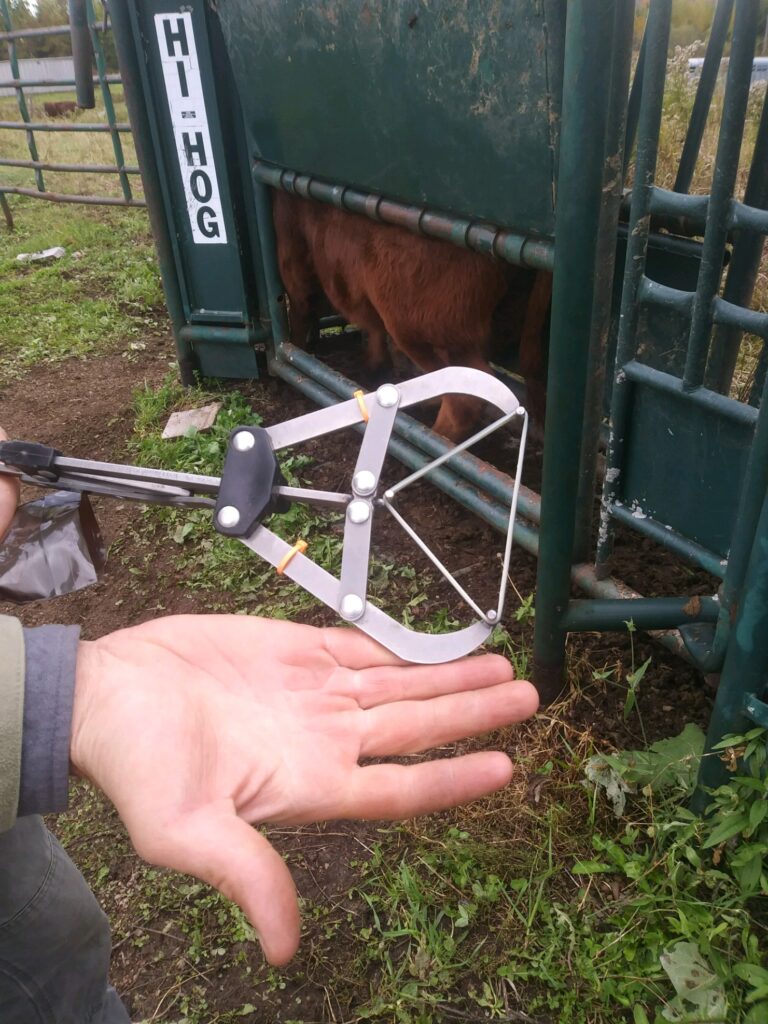
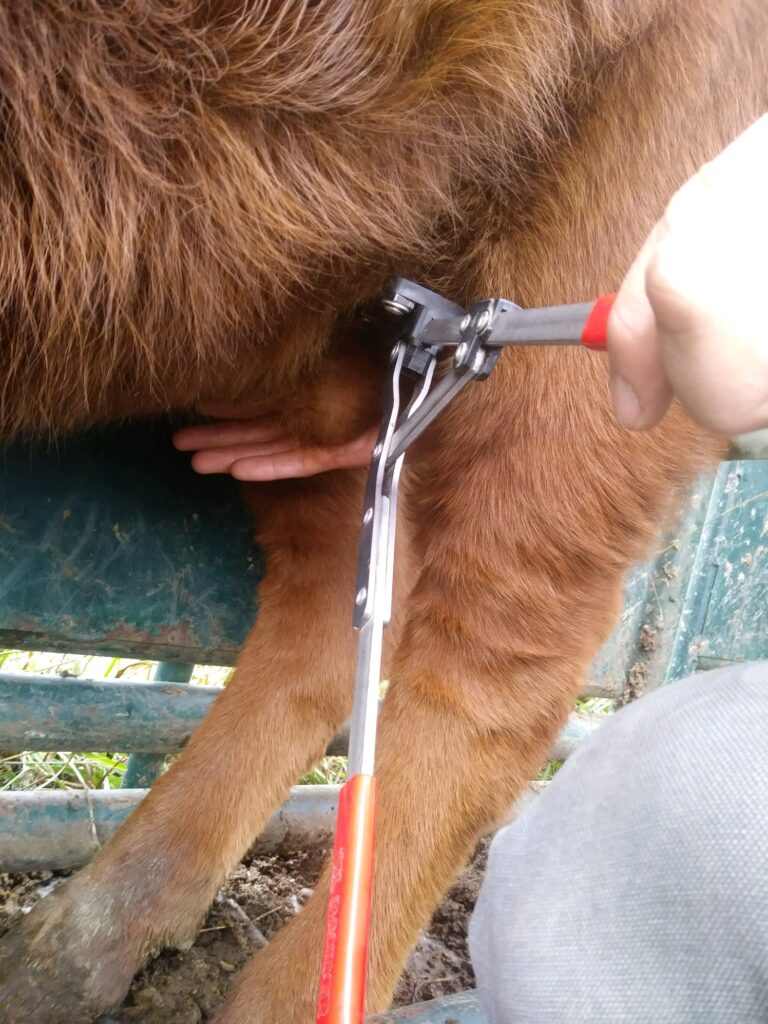
To use, place a castrator band over the three prongs, then open the bander and fit the band firmly over the entire scrotum. The band will expand to approx. 4″ x 3″ x 3″ in size, similar to the size of a tennis ball.
Confirm that the band is over the entire scrotum, with BOTH testicles (you may have to reach up and tug them into place) and then release. After application, the scrotum should drop off after 20-40 days.
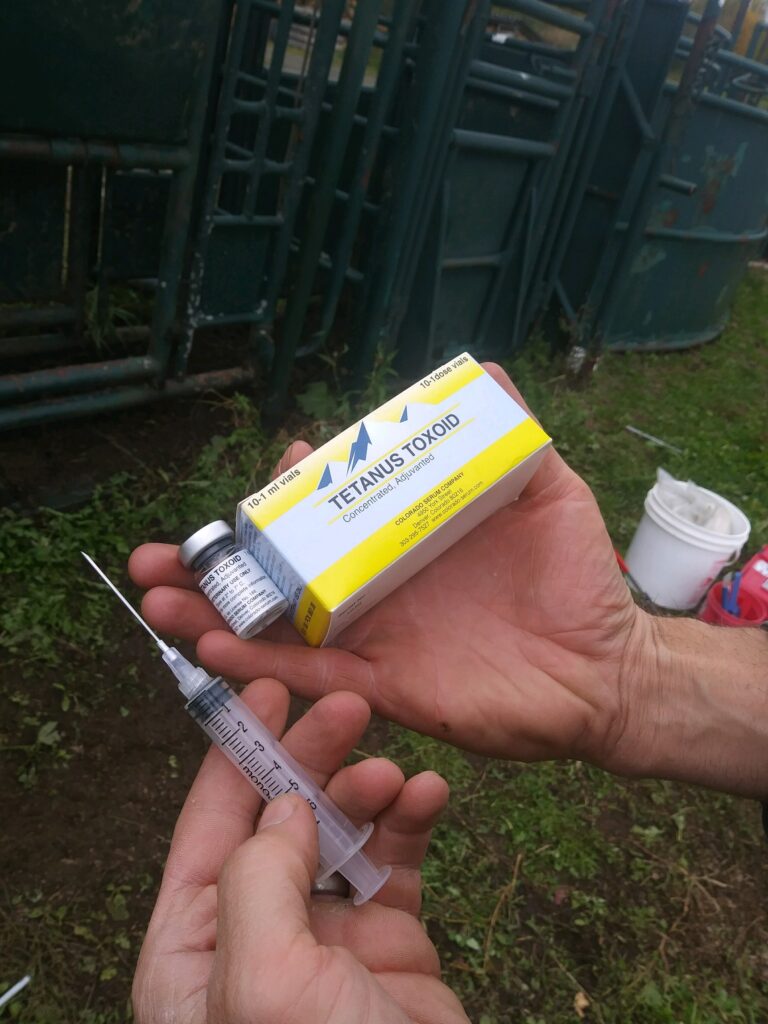
A tetanus toxoid vaccination is strongly recommended at this time.
Callicrate SMART Bander
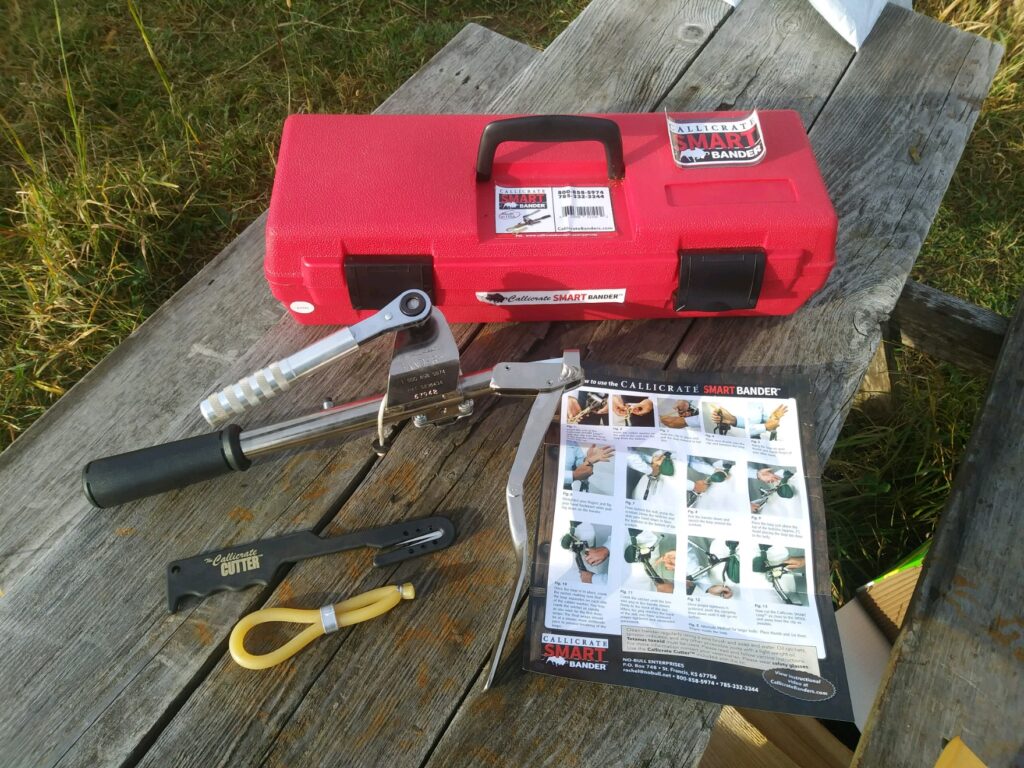
The third and final bander I want to discuss today is the top-of-the-line Callicrate SMART Bander, the brain-child of Kansas rancher Mike Callicrate. The other two banders only work with young calves, but this thing will band even the largest of animals. If you find your bulls have grown too big to be banded with the XL, you need the Callicrate. This is one very nice piece of equipment. Top-notch quality, well worth the price tag. A very good investment. The key to success with these Callicrate banders is found in their ability to provide for a very high-tension banding, placing them squarely into a ground-breaking league of their own. The vision set forth by Mike Callicrate, in creating a castrating tool that was humane and bloodless, while being effective in complete castration (with low-stress), became a reality, and is now a tool that we recommend every cattle farmer have in their castrating toolbox.
The Callicrate SMART Bander does have a higher price tag, at more than $400, but the kit comes with not only the Callicrate SMART Bander but also, 5 extra-strong Callicrate SMART Loops, 1 loop per bull, Callicrate SMART Cutter, and a carrying case. This bander allows for castration of a wide range of weights, from 300 – 3,000lbs! We are always on the look-out for making good investments and using our money wisely. In our opinion, you would be doing both by purchasing a Callicrate SMART Bander.
To use the Callicrate SMART Bander, a loop is first inserted into a no-slip clip. This patented no-slip feature allows you to adjust the loop and hold tension for precise and quick placement over the scrotum. The ratcheting mechanism, combined with the no-slip clip, allows for a high-tension placement of the loop over the scrotum. The high-tension loop provides for instant and complete restriction of blood flow, thereby allowing for a quicker drop-off of the scrotum.
Callicrate banders are very user-friendly and the Callicrate SMART Bander kit does come with a very detailed, step-by-step instruction sheet, complete with pictures. In addition, how-to videos and tutorials can be found online.
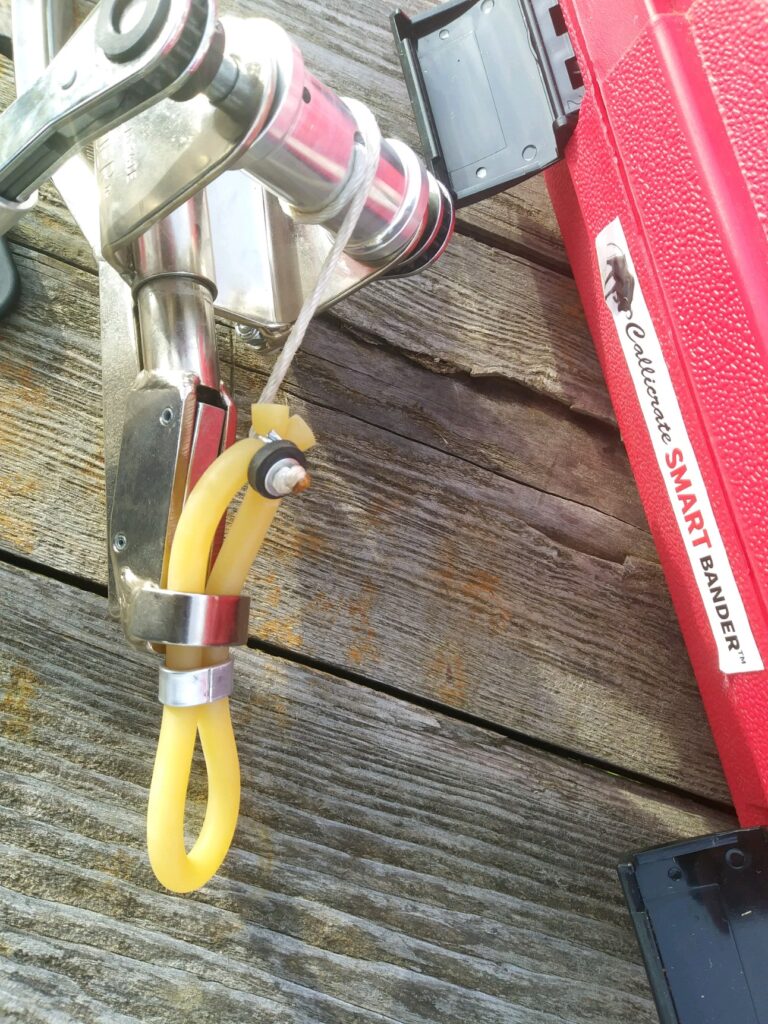
We most recently used the Callicrate SMART Bander for banding a yearling bull, that tipped the scales at over 800lbs. The XL Castrating Bander was just too small to handle a bull of his size. We thought we could make it work but it didn’t take but a few minutes of looking at his scrotum and then looking at the band opening and one futile attempt to fit the scrotum into said band, for us to realize this was going to be a no-go operation. Ain’t happening.
So, we took the financial leap and ordered the Callicrate SMART Bander later that day. We were impressed with the quality of the bander and the accessories it came with. The banding process went smoothly and quickly. No blood, no drugs, no struggle. A very low-stress experience for the animal and for us.
And a low-stress cattle experience makes for a good day in our books!
Thanks for reading!
If you are interested in learning more about or purchasing one of the banders I talked about today, please be sure to check out the links below:
4-Pin Castrator Bander Forceps Pliers for Newborn Calves
XL Castrating Bander (plier type) (for bulls 250-750lbs)
Callicrate SMART Bander (for bulls 300 – 3,00lbs)
[…] be sure to also read our post on: Beef Bull Castration: Using Castration Banders, including the Callicrate SMART Bander. We provide the most up-to-date information on CASTRATION BANDERS, as well as insight into our […]